Adding microgreens to food is a new trend in modern cooking. Increasingly, you can find this word in recipes and restaurant menus.
What is microgreen?
Microgreens are miniature, young seedlings that add color and texture to many dishes, including salads, soups, desserts, and more. Microgreen should not be confused with germinated grains, because, in contrast to them, microgreen synthesizes hormones - cyclotins. This class of hormones is responsible for cell division.
In addition, microgrin also contains auxin, which is a natural growth promoter. Do not confuse them with greens. Indeed, when growing microgreen there is no need for a thick layer of soil with nitrogen, potassium or phosphorus fertilizers. In fact, all the necessary substances for microgreen growth are embedded in the seed itself, only water and carbon dioxide are needed.
Microgreens are essentially seedlings of most standard vegetables and herbs.
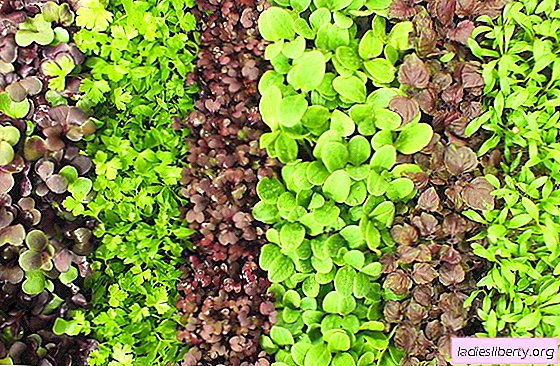
You can sprout: turnips, radishes, broccoli, cauliflower, carrots, celery, chard, lettuce, spinach, arugula, amaranth, cabbage, beets. Microgreens of herbs with their piquant aromas and tastes will give special piquancy.
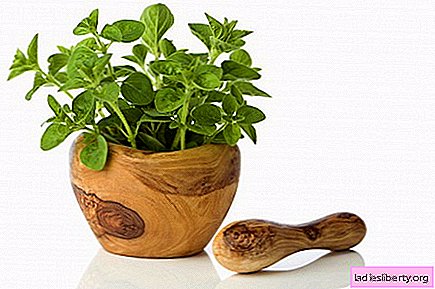
From herbs as microgreens are grown: parsley, dill, basil, coriander. Even germinated edible flowers are used as microgreens: sunflower, nasturtium, pansies, buckwheat, clover, etc. Like seedlings, microgreens are a concentrated source of nutrients. And although they can often be found in presentations and dishes of various restaurants, but they can easily be grown at home.

How to grow microgreen at home?
To grow a microgreen you will need:
- shallow capacity;
- organic soil;
- seeds;
- light window sill or artificial lighting.
To grow microgreens at home, you should follow simple instructions.
1. Select a shallow plastic container with drainage holes. It is preferable to choose low but wide tanks.
2. At the bottom of the container, a two-centimeter layer of organic soil is poured, which is leveled.
3. Sowing seeds. Spread the seeds evenly across the surface of the soil. They should be twice as many as when sown in open ground.
Tip: soak the seeds overnight, this will speed up the germination time.
4. Sown seeds should be sprinkled with a thin layer of the remaining organic soil.
5. Watering. It is best watered using a spray with clean water. Spray the seeds a couple of times a day to keep the soil moist. But they should not be transfused. To do this, the container with seeds can be placed on
a pan into which excess water will drain.
6. The container is mounted on a sunny window. After three to seven days, the seeds will germinate.
7. Harvesting. Harvested 7 to 14 days after seed germination. To harvest a microgreen, cut the seedlings directly above the surface of the soil. Then they can be used in cooking.
Microgreens will not only add zest to your dishes, but will become a rich source of nutrients and vitamins.