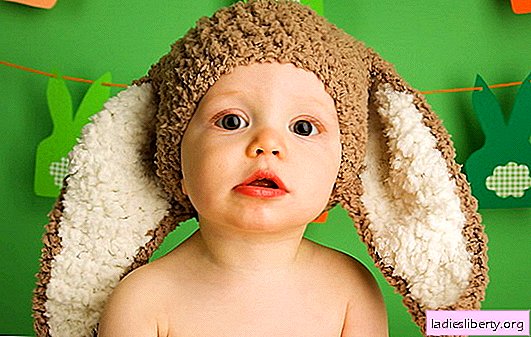
A girl with a style has in her wardrobe several hats suitable for a different look of outfit.
What to do if you need a new hat and no time to run around looking for shopping?
You can sew a fashionable cap with your own hands at home.

Do-it-yourself hats model selection and first steps
It is required to decide on the model. Choose the color of the future product. Decide on the fabric. Much of the choice depends on the season during which the headgear will be worn. Or the choice may be associated with some kind of social event, where it is important to come with an intriguing or memorable appearance. Or maybe I wanted the exact same hat as the Hollywood star on the cover of the magazine.
So, for sewing hats you will need: fabric from knitwear, matching threads, sewing needle for knitwear, meter, scissors, ruler, pencil, tailor's chalk.

Below is a pattern that can be printed on a printer or make a diagram yourself according to the parameters indicated on the diagram. The headpiece is designed for a head with a girth of 52 cm (± 4 cm). Girth is measured by a tailor's meter. If desired, the pattern can be reduced by subtracting from the specified numbers.
The pattern does not include allowances. Their width varies in places. For the upper cut, an allowance of 1 cm is required. For the lower and middle - 1.5 cm. The allowance for wedges is 0.7 cm.

Open the hats with your own hands and tailoring
The fabric before cutting must be checked for minor defects. After which it needs to be washed and dried.
Knitwear is a highly stretch fabric. It has the direction of threads tied together. You need to cut in the direction of the threads, not across. Knitwear also has loops. Dissolving the edge of the fabric, it becomes clear the correct position of the fabric. The loops should always be at the top, and the strip of the opening thread at the bottom. In this correct position, the fabric for the hat with its own hands is laid out on the work surface face up. Chalk outlined patterns. Allowances can be made immediately on fabric or in advance on a pattern.

When all the details are cut out, you can start sewing:
1. Wedges on the main part grind along the upper cut of the cap;

2. Then - on the lining material;

3. Further wedges are ground in a circle;
4. The middle seam is ground on the main part, and then on the lining material. At this stage, it is recommended to sew the seam manually before laying the machine stitch so that the stretching fabric fits perfectly;
5. The upper part of the cap is sewn with the lining. The upper part should be turned on the wrong side, and the lining - on the contrary. Use light zigzag stitch for knitted fabric;

6. The middle of the middle seam of the lining fabric is unstuck. The cap is turned on the front side. After that, the hole is manually sewn with a blind seam.
The cap model can be lengthened. You get a sock hat. Also very fashionable.
It is recommended to decorate the finished hat with your own hands. It can be beads, heat-resistant images, drawings applied with special paint for the fabric.
Do-it-yourself hats with cat ears
It’s easier to make a stylish hat with cat ears with your own hands than it seems. To do this, you will need a ready-made knitted hat of black color and the same color of felt. Instead of felt, you can use leather. Ears resembling cat's ears are cut from felt. Felt in its structure does not crumble around the edges. It is not required to process its edges.
Ears are simply sewn to a knitted hat in the places you like.

By the way, by the same analogy, it is possible to sew hats with ears, like the fairy-tale character Mickey Mouse.
A new approach to old things
Is it possible to sew hats with your own hands from old sweaters? Sure you may. In the photos below are ready-made ideas for transformation. These hats can be sewn even for toddlers or for parents and toddlers.

Matching knitted sweaters are selected in the wardrobe. It is only required to measure the girth of the head, to make allowances. And you can cut it. Jewelry is sewn onto the cut part. After that, both halves of the cap can be sewn on the wrong side.

A dark-blue hat is sewn using the same technique as a green hat. Decorated with two large wooden buttons.
A pink hat with a bow is cut in the same way. For a bow, one rectangular piece is cut out, which is doubled and sewn on the wrong side. Next, the part is turned on the front side and sewn from the sides to the sides on the cap. The horizontal seam unfolds in advance towards the head. The final touch - on a rectangular strip in the center is sewn pulling "ringlet". Both sides of the cap can be stapled.
A pink striped hat is also easy to sew. First, the details are hidden: the back and the front. Stripes for the tail are cut from any knitted fabric. In the middle, the bundle of strips is bandaged, folded in half. The tip is stitched in several circles. The resulting brush is sewn to the crown. After that, both sides of the cap can be sewn into one piece.